Choosing the right font pairing for monochrome classroom signage isn’t just about looks it’s about clarity, consistency, and how well students and staff can read and respond to information. When everything is black and white, the contrast between fonts becomes a key part of communication. A strong pairing helps guide attention, supports readability, and keeps messages clean and professional.
What does professional font pairing mean for monochrome classroom signage?
It means selecting two fonts one for headings and one for body text that work well together in black and white. The goal is visual harmony without relying on color. One font usually carries more weight or structure (like a bold sans-serif), while the other provides balance (like a lighter serif or clean sans-serif). This creates hierarchy: titles stand out, details remain readable.
For example, using a crisp sans-serif like Inter for class schedules and a soft serif like Merriweather for announcements adds subtle rhythm without distraction.
When should you use a professional font pairing in classroom signage?
You’ll want this when posting anything that needs to be read quickly across a room daily schedules, rules, bulletin board updates, or room assignments. In high school hallways or elementary classrooms, where multiple people pass by, clear typography reduces confusion. It also matters when signs are displayed long-term, like semester plans or safety notices.
Monochrome settings often appear in schools with minimalist design goals, limited printing budgets, or a focus on reducing visual clutter. But even simple black-on-white signs need thoughtful design. Without careful font choices, they can feel flat or hard to follow.
Common mistakes in monochrome font pairing
One frequent error is mixing too many styles. Using three different fonts even in grayscale creates visual noise. Another issue is choosing fonts with similar stroke weights or shapes. If both fonts look too alike, readers can’t tell which text is a title and which is detail.
Overly decorative typefaces fail in monochrome. Scripts or thin serifs may look elegant on a screen but become illegible at a distance. Also, don’t pick fonts with inconsistent spacing. Poor kerning or uneven letter gaps make reading harder, especially for younger students or those with visual processing differences.
How to pair fonts effectively in a monochrome setting
Start with contrast. Pair a geometric sans-serif (like Roboto) with a humanist serif (like Source Serif Pro). The difference in structure gives your sign a natural rhythm. Use the heavier font for headings, the lighter one for descriptions.
Check line spacing. Monochrome signs often have tight layouts. Make sure there’s enough space between lines so text doesn’t blur together. A 1.4 to 1.6 line height works well for most classroom sizes.
Keep it consistent. Once you choose a combo, stick with it across all signs in the same area. This builds familiarity. Teachers and students learn to expect certain formats, which speeds up understanding.
A balanced mix of serif and sans-serif fonts can bring warmth to otherwise plain surfaces. For teacher bulletin boards, clean sans-serif pairs like Lato and Open Sans keep things tidy and modern. These combinations work well in low-contrast, minimalist setups.
Real examples from actual classrooms
In a high school science wing, a teacher used Montserrat for lab schedule headers and PT Sans for instructions. The bold uppercase letters stood out clearly from the smaller, regular-weight text below. Students knew exactly where to look.
Another example: a primary grade classroom posted daily routines using Exo 2 for activity names and Comic Neue for steps. Both are sans-serifs, but the difference in width and weight made them distinct without adding color.
For older students, such as in a high school English classroom, a layout using Playfair Display for unit titles and Merriweather for reading lists gave a polished, academic feel. These pairings are explored further in real-world applications for high school walls.
Practical next steps
- Test your chosen font pair at actual display size print a sample and view it from 6 feet away.
- Stick to two fonts max per sign. Avoid extra styles unless absolutely necessary.
- Use uppercase for headings only if the font supports it well some lowercase-only fonts lose clarity when capitalized.
- Check accessibility: ensure the contrast ratio between text and background meets WCAG standards (at least 4.5:1).
- Save your preferred combos as a reference file for future signs.
Good typography isn’t about decoration. It’s about making information easy to find and understand. With a little care in font choice, your classroom signs can stay clear, calm, and effective day after day.
Try It Free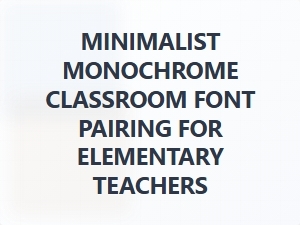 Clean and Clear: Minimalist Monochrome Fonts for Elementary Classrooms
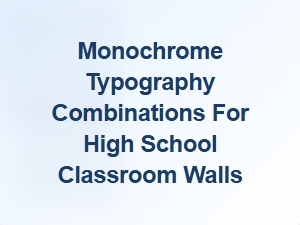 Clean Monochrome Typography for Classroom Walls
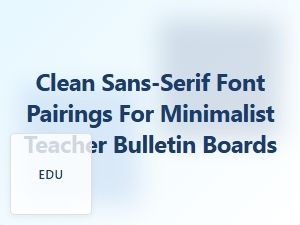 Clean Sans-Serif Font Pairings for Minimalist Monochrome Bulletin Boards
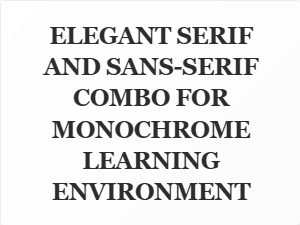 Elegant Serif and Sans-Serif Pairing for Minimalist Monochrome Learning
 Bold Letters for Energetic Kindergarten Classroom Themes
 Vibrant Typography for Engaging Primary Classrooms